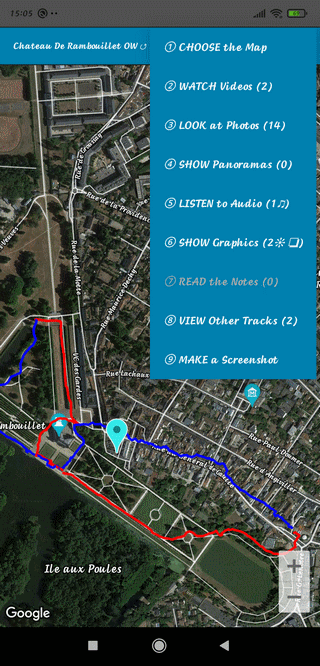

⇨ ① CHOOSE the Map
Allow to change the Kind of Aerial View : Satellite, Plan, Hybrid
⇨ ② WATCH Videos (...)
Allow the Visualisation of Videos
⇨ ③ LOOK at Photos (...)
Allow the Visualisation of Photos
⇨ ④ SHOW Panoramas (...)
Display the Panoramas Markers
DISPLAY Panoramas : Look at a Panorama
⇨ ⑤ LISTEN to Audio (...)
Run the Audio Player on the Audio Record of the Track and Follow the Route
⇨ ⑥ SHOW Graphics (...)
Allow the Graphics Visualisation
GRAPHIC Analysis (3❏ ) : Do the Graphic Analysis of the Track
⇨ ⑦ READ the Notes (...) or Read the Help (1)
Display the Text Note File associated to the Track or Read the Associated Help from Support Site if No Notes
⇨ ⑧ VIEW Other Tracks (...)
° 1st Pulse : Reference Track + Access Track Display
° 2nd Pulse : Access Track Single Display
° 3rd Pulse : Guided Track Single Display
° 4th Pulse : Reference + Guided Track TO Display
° 5th Pulse : Reference + Guided Track BACK Display
° 6th Pulse : Reference Track Single Display
⇨ ⑨ MAKE a Screenshot
Doing a Screenshot in Media Space
⇨ Press Blue Marker to See the Track Synthesis
⇨ Press BACK Control (↶ ) to Light Off the Track Synthesis
⇨ Short Touch on the Map 5 Modes (see below)
⇨ Soft Touch and Slide = Moving the Map
⇨ Touch the Dot = Call Characteristics of the Point (5 Possibilities Detail, Performances, Positioning, Environment, No Data)
⇨ Zoom at First to the Maximum to space the Points, and Touch the Point to control the Characteristics
⇨ Long Press on the Map: With or Without Characteristics
⇨ Long Press on Info Marker : Connect to Search Panoramas associated to the Track
After Selection of a Location and a Kind of Display (5 Possibilities)
⇨ Press the Sound Volume (+) to inspect the Track to the Front
(DETAIL, PERFORMANCES, POSITIONING, ENVIRONMENT or NO DATA)
⇨ Press the Sound Volume (-) to inspect the Track to the Back (5 Possibilities)
Each Press allows the Visualization of the Next or the Previous Position (in Yellow Color)
If the Mode "Permanent Photo" has been choosed, the Photo of the nearest Point is displayed
⇨ Necessity to be connected to GSM Network (in the Nature or in Mountain)
or WIFI (at Home) for the Cartography
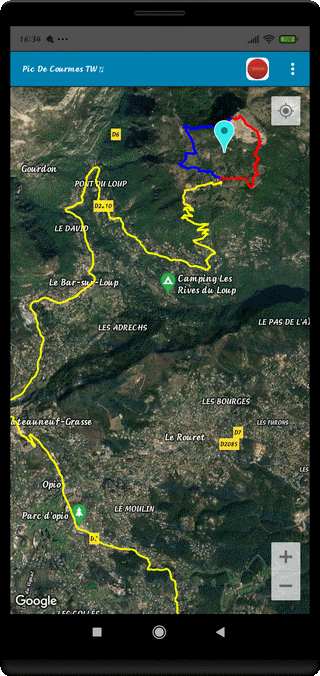
⇨ In Red Color, the Reference WAY TO Track (HIKE Mode)
⇨ In Blue Color, the Reference WAY BACK Track (HIKE Mode)
⇨ In Yellow Color, the ACCESS Track (CAR Mode)

This Example shows that is, sometimes, necessary to drive many Kilometers
before to find the Starting Point of an interesting Hike
In that case, precisely, the Access Track is far from about 34km and the Reference Track has a 7 km Length
But the Access Track is a good Method to find the Starting Point